
GCC: Croissant

I have had the croissants on my kitchen bucket list for a bit now. It’s one of those recipes that scared me; mostly because it seems like it is so hard to do, but, when you do get to them, you realize that is not that they are hard, it’s that they are TIME CONSUMING. Two totally different things.
Two days for these to be done.
TWO.DAYS!
And believe me; I looked all over the Internet for a short cut.
No dice. Nada, Zip. Croissant making HAS NO short cut. They take time, period.
A lot of time. And a lot of waiting.
Oh.my.god – THE.WAITING!
Was it worth it at the end? Yes. We ate them so fast, there was a moment there where I thought I had imagined the whole thing, until I looked down at our napkins and saw the evidence. Would I do them again? I made enough dough to have half of it sit in the freezer for me to do another batch, so the answer to that question would be yes but, to do the whole process again?
It will take huge amounts of convincing from Tom. And the poor man is already in full campaign mode for a second run.
Like anything new around here, I had to prepare myself, so for a full week I read about 20 different versions of the recipe in blogs, cookbooks and watched about 10 videos on how to make them. I thought I was pretty prepared for everything that I could encounter along the way.
The baking god laughed and laughed at that, and showed me who was the boss in my kitchen.
Apparently, not I.
After all that reading, the biggest tip that I got and read over and over is to keep everything as cold as possible, including the room you will be working in.
I was in luck, Saturday, my start day, the weather gods decided to send me an over-cast cold day here in sunny Florida. And we were off to making croissants!
The dough itself is pretty straightforward. Yeast, milk (some recipes called for water, but I opted for milk, which makes for a smoother dough) sugar, flour, salt mix it all together until it becomes nice and silky smooth.
My dough was not nice and silky smooth. It was still pretty wet, so I opted to add more flour ¼ cup at a time, until it was, what I figured, the right texture. I still thought it was pretty wet, but I’m super scared of always adding too much flour when it comes to baking breads and pastry; making the end result one heavy mess. So, I played it a bit safe and figured that I could compensate when I started to roll it and add a bit more flour then.
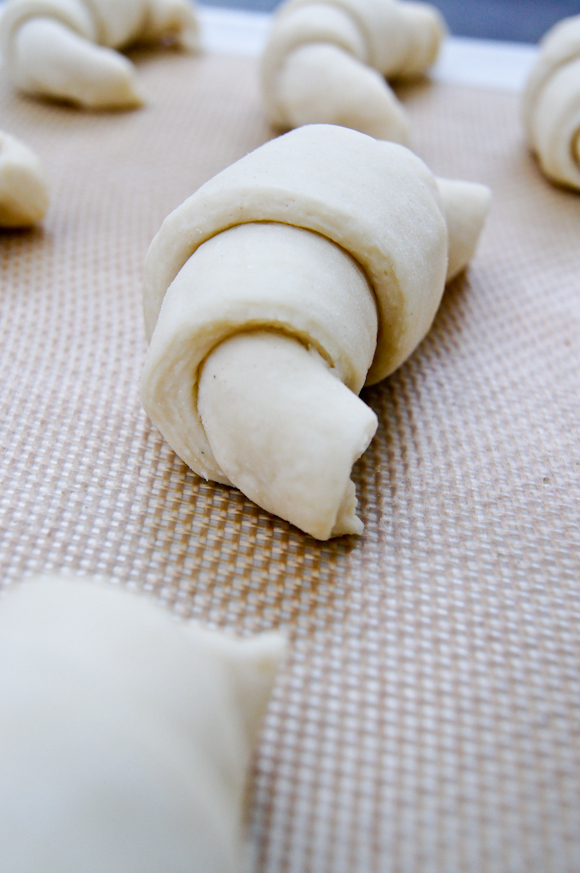
Rolling croissant is the art of the “laminating” technique. Lamination is term for the process of alternating layers of dough and butter when making pastry. The dough is wrapped around butter (so that the butter is completely enclosed in dough and cannot slip out), the “package” is rolled out, folded over to double the number of layers, and then the whole thing is repeated. Each time the dough is folded, it is called a “turn.” The more turns your laminated dough has, the flakier your finished pastry will be. Laminated dough includes puff pastry, croissant dough and Danish dough.
There are a lot of elements to the perfect croissant – the freshest ingredients, the right measurements, the time of proofing, but the laminating process is really what is going to make your end product the showstopper that it is. So it pays off when it’s done right.
The process starts with making your dough, parking it, while you go to town making the butter block. It’s a pretty straightforward affair – you will need, butter (the best one you can find) flour, plastic wrap and a rolling pin, or anything that can be used to whack it into submission.
It’s actually a good way to start getting your frustrations out of making croissant at the early stages, so you can be all nice and calm during the laminating process.
What you’re shooting for here is a butter consistency rather like play dough. Not too firm, since you want it to spread as you roll the dough out. But then again, not too soft either, because if the butter actually melts it’ll soak into the dough and ruin the layering effect. What you’re after is a plastic texture that isn’t at all greasy looking or feeling.
I found great tips for doing the laminating/croissant process in a chowhound conversation. Specifically by a baker named Ralph. He recommends trimming the edges as you do your turns. And between turns put the dough back in the refrigerator for 90 minutes and then in the freezer for 30 before starting the process all over again. I’m going to do this the next time (if there is a next time!).

Oh, who am I kidding, of course there will be a next time!
Another mistake I made was not proofing the dough enough. By Sunday, I was getting antsy and impatient. I knew this as soon as I put my croissant in the oven. I was in trouble. The butter started to pool around my babies and that was the perfect little sign that I did not wait enough. Lesson learned!
Regardless of all of these little hiccups, and complaining, I truly enjoyed making them. It has been a very stressful time in my 8 to 5 job the last couple of weeks and the fact that I had to concentrate and do this over a 2 day period, made me relax and lose myself in the whole process – one of the reasons I love baking so much. It also helped me scratch off this little task from my kitchen bucket list.
My end product was delicious. Even my mother, who is the pickiest person when it comes to pastry, said she truly enjoyed them. They were very buttery, and had numerous layers, they were nice and crunchy and the perfect balance of sweet and salty, which made them great with sweet apricot jam, as well as ham and cheese.

Was there room for improvement? Absolutely. But, at the end it was the satisfaction of doing something that a year ago I would not have even thought of doing nor even attempting. And that is the whole point of creating the Gutsy Cooks Club. To have the opportunity to reach further and further in my skills and my gustiness when it comes to cooking. Out of all of the stuff we have tried so far, these croissants are a very proud moment for me.
I hope it was just as a good experience for the other Gutsy Cooks as well.
You can find the recipes that I used for mine here and here.